
How to Create a New Project
in Sublandia Editor
Designed for creators. Free to use. Ready to scale.
Built by subtitlers. Powered by freedom!
Introduction
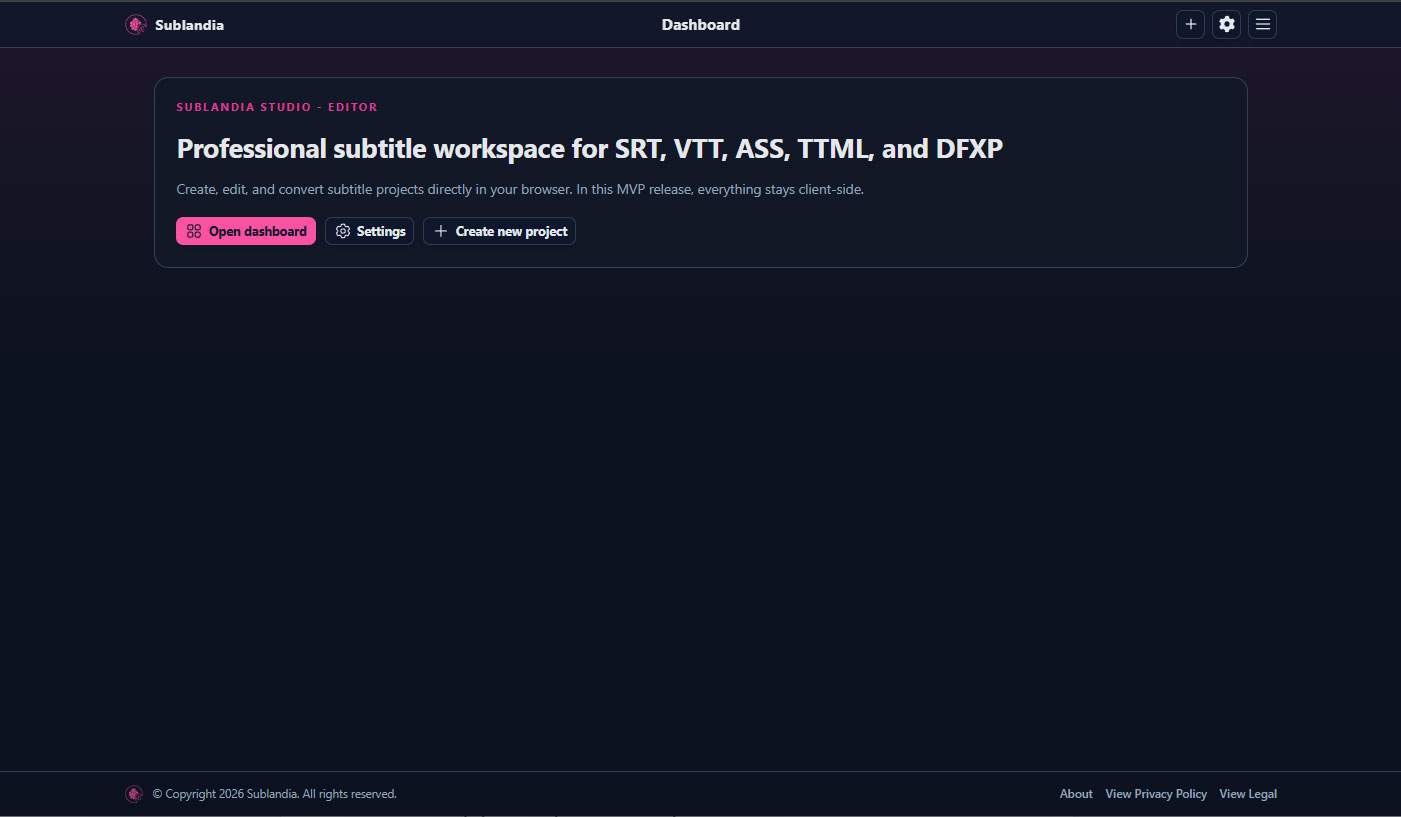
Working in Sublandia Editor starts on the Dashboard page, where you create a new project and define parameters that affect the entire workflow, including export.
 How to Create a New Subtitle Project
in Sublandia Editor – Step-by-Step Guide

2. Start a New Project
Click + Create New Project. Project creation has 5 steps where you can configure all settings, including export options.

3. Set Project Name and Frame Rate
Enter a project name and select the video frame rate if known. For most cases, leave it as Unknown (Auto-detect).
Click Continue.

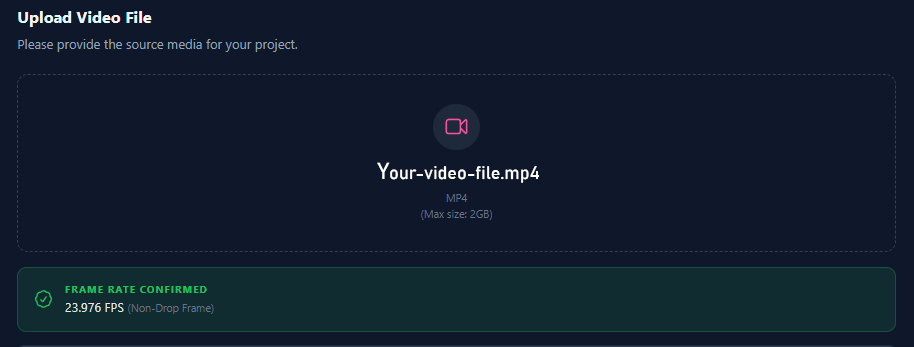
4. Upload Your Video
Click Click to select video and upload your video file. The detected frame rate will be displayed automatically.
Click Continue.

5. Choose Subtitle Format and Timing
Select a subtitle format (e.g., SRT) and a timing mode (Precise or Strict). Enter a file name for your subtitle file, or leave blank to auto-generate. Choose encoding (e.g., UTF-8) and click Continue.

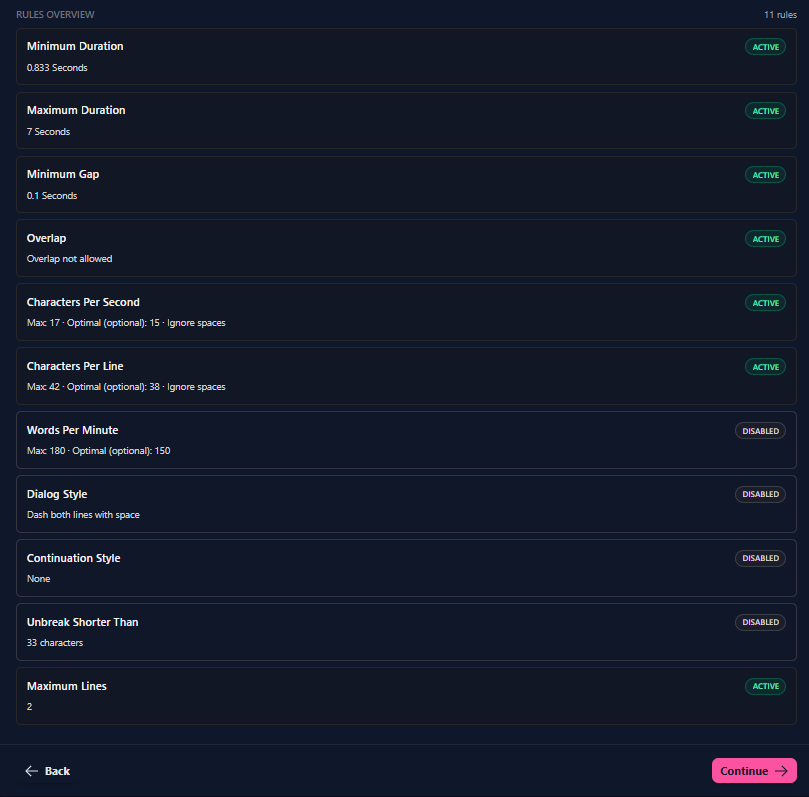
6. Select Subtitle Ruleset
Pick a built-in subtitle profile or create a custom profile. All relevant settings appear under the selected profile. Click Continue.

7. Upload Subtitle Template (Optional)
Upload your subtitle template file if you have one. Click Create Project to finish.

8. Project Successfully Created
You’ll see Project Created! Click Open in Editor to start editing your subtitles.

9. This Is How Your Project Should Look in Sublandia Editor
After clicking Open in Editor, your project opens inside Sublandia Editor. At this stage, the editor interface displays the video preview, subtitle timeline, project settings, and editing tools needed for subtitle creation and timing adjustments.

 FAQ
FAQ
Where do I create a new subtitle project in Sublandia Editor?
You create a new project on the Dashboard page by clicking + Create New Project. This opens the project creation workflow where you can configure all settings, including export options.
Can I change the project parameters after creating a subtitle project?
Most project parameters can be modified later, including subtitle format, and encoding. However, it is recommended to set them correctly at the start for smoother workflow and accurate exports.
What video formats are supported when creating a new subtitle project?
Sublandia Editor supports MP4. Once uploaded, the editor detects the frame rate automatically.
Which subtitle formats can I choose during project creation?
You can select from popular subtitle formats like SRT, TTML, DFXP, WebVTT and ASS. Choosing the correct format is important for proper export and playback.
What is the difference between Precise and Strict timing modes?
Precise timing allows millisecond-accurate subtitle placement, ideal for professional editing. Strict timing snaps all start and end times to exact frame boundaries, ensuring that every subtitle aligns perfectly with the video frames. This mode is often used for broadcast-ready subtitles where exact frame alignment is required.
Do I need to upload a subtitle template to create a project?
Uploading a subtitle template is optional. You can create a project without a template and add subtitles later in the editor.
What is a subtitle ruleset and why should I select one?
A subtitle ruleset defines formatting, line length, reading speed, and other subtitle standards. Selecting a built-in or custom profile ensures your subtitles meet professional guidelines.
How do I confirm that my project was successfully created?
After completing all steps, you’ll see a Project Created! message. Click Open in Editor to access the full Sublandia Editor interface and start editing your subtitles.
Can I export my subtitles immediately after creating the project?
Yes. Once your project is open and subtitles are added, you can configure export settings and export the project in the chosen subtitle format and encoding.
Is Sublandia Editor suitable for beginners creating subtitle projects?
Yes. Sublandia Editor is a professional-grade subtitle software, but its intuitive step-by-step workflow, pre-built subtitle profiles, and optional templates make it easy for beginners to create and manage subtitle projects efficiently.
Something on your mind?
Contact us
We are social


